


26th September, 2019
By Funmilola Olukomaiya
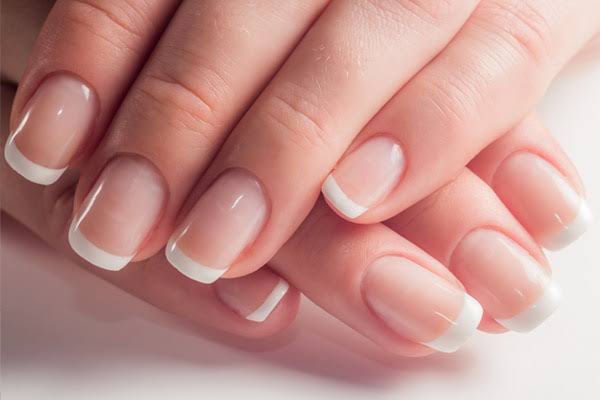
For that chic and polished look, we dare say nothing beats a classic French manicure.
As the name suggests, French manicures didn’t originate in the fashionable streets of Paris, but became a household name when Hollywood nail artist, Jeff Pink came up with the idea in the 1970s to accommodate actresses’ constant wardrobe changes.
This beautiful classic, go-with-anything nail style has become highly sort after because of its signature white tip and sheer, neutral nail colour which believe it or not is a common request at nail salons everywhere.
It is not much of a big deal now with all the new nail advances, to score a salonworthy mani right in the comfort of your own home.
Nail trends will come and go but the classic French manicure will never go out of fashion. So if you haven’t already, you should master the art of getting the perfect French manicure all by yourself!
After you’ve got the necessary items, it’s really not much more difficult than painting your nails.
1. Prep your nails: Start by removing any leftover nail polish and soak your nails in warm water for a while. Remove dead skin around the nails and wipe them clean.
2. Trim your nails: Trim your nails to the desired length. Make sure all of them are even. Remembe Remember that whit French manicure, the longer they are, the better.
3. Shape your nails: Push the cuticles back using a cuticle stick without damaging the nail bed. Be gentle during the process and ensure that all your nails look the same size and shape.
4. Apply a base coat: Sweep a thin coat of clear base polish along the top third of your nail. This will act as the base for your tip, so don’t worry about covering your whole nail at this point.
5. Do the white tip magic: Apply opaque white polish to the top third of your nail. Keep the coat thin and even for smoother results. Sweep the white polish along the free, trimmed edge of your nail as well to make the color last longer. Allow the first coat to set for a couple of minutes and follow up with a second coat.
6. Apply a top coat: Now that your French manicure looks perfect, there’s only one thing left to do. Protect it by applying a top coat and making it look like you got it done by a professional!
7. Apply the final coat: Finish the manicure with a final application of clear top coat to seal in the color and make the look last. Remember to sweep a little top coat along the top edge of each nail.